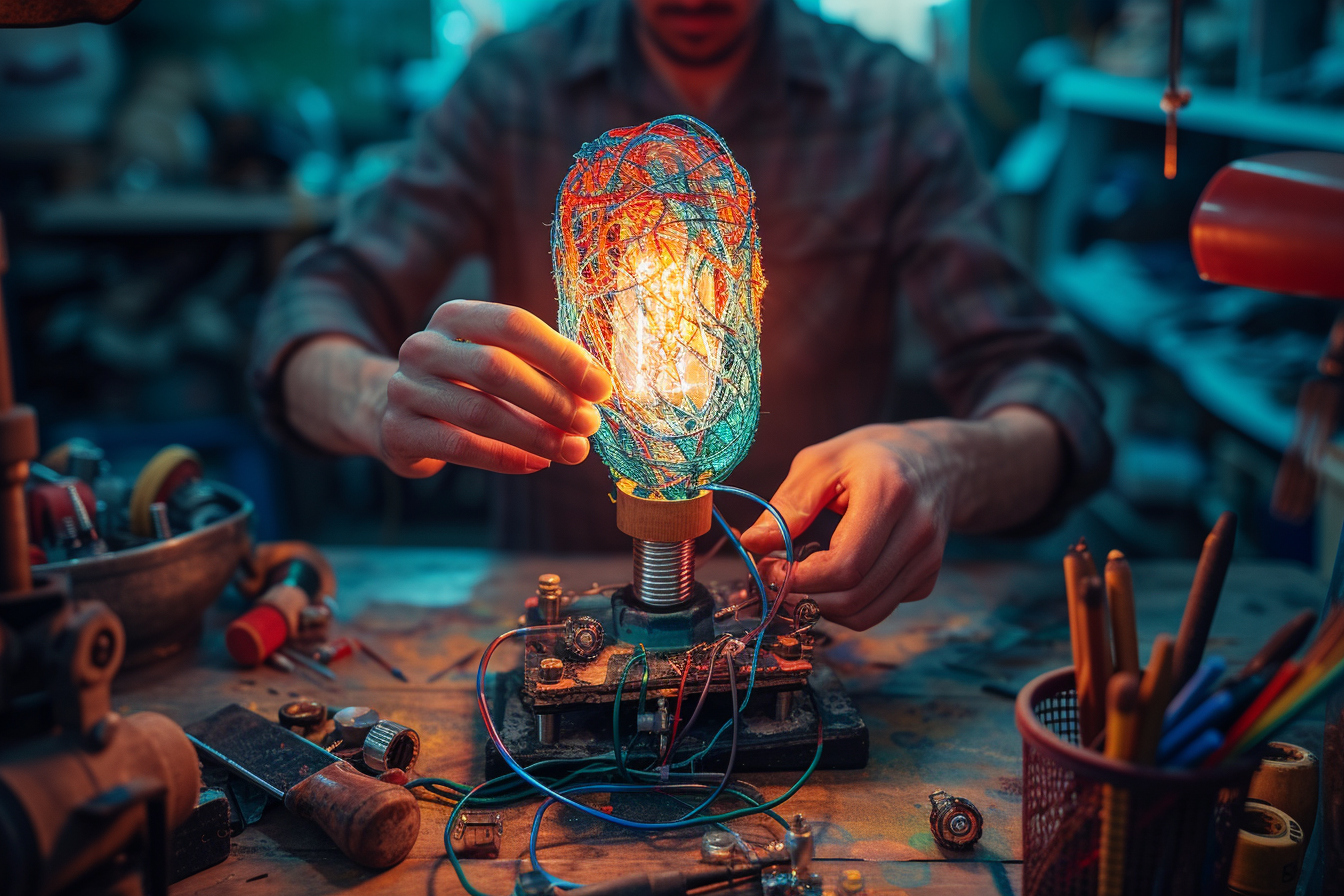
Creating a custom lamp can add a personal touch to your home decor and ambiance. Home-made lighting projects are not only cost-effective but can also be a rewarding craft. With a few tips and techniques, you can transform ordinary materials into stylish and functional lighting pieces.
Understanding lamp components
Before delving into your project, familiarize yourself with the basic parts of a lamp:
- Base: The foundation that supports the lamp.
- Electrical Kit: Includes the cord, plug, and socket. Choose a kit according to the lamp’s required wattage and your country’s voltage standard.
- Lamp Shade: The cover that diffuses light. It can be made from various materials like fabric, paper, or metal.
- Decorative Elements: Extras like paint, beads, or stencils to customize your lamp.
Selecting quality components ensures both the safety and longevity of your DIY lamp.
Safety considerations
Safety must take precedence in any DIY project. Always disconnect the power before working on electrical components. Wear safety gear when necessary, and ensure that all electrical connections are secure to prevent fire hazards. Consider consulting with an electrician if you are not confident in electrical DIY.
Selecting the right tools
You need the right tools for a successful DIY lamp project. These include:
- Screwdrivers
- Wire strippers
- Wire cutters
- Pliers
- Soldering iron (optional, for advanced projects)
- Hot glue gun
- Drill (depending on the base material)
Having the correct tools will ease the process and help achieve a professional finish.
Step-By-Step guide to lamp assembly

Wiring your lamp
The first technical step involves wiring:
- Prepare the Cord: Strip the ends of the cord to expose the wires using wire strippers.
- Attach the Socket: Follow the instructions on your electrical kit to attach the wires to the socket.
- Thread the Cord: Pull the cord through the base of the lamp to the socket.
- Secure the Socket: Depending on your kit, screw or snap the socket into place atop the lamp base.
Crafting the base
Your lamp base can be anything from a vintage vase to a stack of books. When preparing the base:
- Choose a Base: Pick a sturdy and appealing base that can be drilled into for the cord.
- Prepare the Base: Drill a hole if necessary, making sure it’s wide enough to thread the cord through.
- Stabilize the Base: Weight it down or secure it to a surface if it’s light or unstable.
Designing the lamp shade
Here creativity is key:
- Choose a Shape: Decide on the shape and size that complements your base.
- Pick a Material: Fabric, paper, and metal are popular choices. Each provides a different diffusion of light.
- Assemble the Shade: Either use a pre-existing frame or create one using wire or another sturdy material. Attach your chosen material securely to the frame.
Adding finishing touches
Adding embellishments gives personality to your lamp:
- Paint: This can transform the color and style of both base and shade.
- Attach Decor: Use a hot glue gun to add beads, fabric trims, or other creative elements.
Creative ideas for custom lamps
- Industrial Chic: Use pipes and Edison bulbs for a trendy, industrial look.
- Nautical Theme: A base made with ropes or driftwood can create a seaside vibe.
- Minimalist Design: Simplicity is key; think geometric shapes and monochromatic colors.
- Botanical Lamp: Incorporate live plants or faux greenery for an eco-friendly design.
- Upcycled Items: Wine bottles, mason jars, or old teapots can become unique lamp bases.
Techniques for a professional finish
Attention to detail can elevate your lamp from homemade to artisan:
- Smooth Edges: Sand rough edges, especially if working with wood or metal.
- Cord Concealment: Aim to hide the cord as much as possible for a clean look.
- Solid Connections: Ensure all components are tightly connected for a stable structure.
- Neat Decor: When adding embellishments, keep them symmetrical and orderly for an intentional design.
Troubleshooting common issues
During assembly, you might encounter some challenges:
- Flickering Light: Check your connections and make sure the bulb is the correct wattage.
- Wobbly Base: Add weight or a wider base to stabilize the lamp.
- Dull Light: Consider a different shade material that allows more light through.
Maintenance and care for your diy lamp
Proper maintenance will ensure your lamp lasts:
- Regular Cleaning: Dust the lamp and shade gently, and wipe the base with a suitable cleaner.
- Bulb Replacement: Change bulbs as needed, and never exceed the recommended wattage.
- Cord Care: Keep the cord away from high-traffic areas to avoid damage.
A well-maintained lamp not only functions better but also remains a highlight in your home decor for years to come.
In order to create a captivating and practical piece of home lighting, it’s essential to approach the DIY lamp making process with both creativity and precision. From selecting the perfect materials and assembling the technical components to embellishing with personal flair, each step paves the way to a unique and radiant addition to any space. Regular maintenance further ensures the longevity of your handcrafted luminary. Embrace the process and enjoy the glow of your bespoke creation!
So, embark on this enlightening journey of DIY lamp making. With the insights and techniques provided, transform simple objects into elegant sources of light that beam with your individuality and ingenuity.

