Facial serums have become an indispensable element of modern skincare routines. These potent concoctions are designed to deliver a high concentration of active ingredients to the skin. When crafted correctly, a homemade facial serum can provide a natural and cost-effective alternative to store-bought products, while also ensuring that you know precisely what you’re applying to your skin. This comprehensive guide dives into the world of natural skincare to help you master the art of creating your own facial serum with expert techniques.
Understanding facial serums
Before embarking on the creation of a homemade facial serum, it’s essential to understand what serums are and how they benefit the skin. Unlike heavier lotions or creams, serums are typically lighter and more fluid. They are formulated to penetrate deeply into the skin, allowing for a more intense delivery of nutrients, hydration, and active ingredients.
Choosing the Right Ingredients
The key to an effective facial serum is selecting the right components that target your specific skincare needs. These ingredients can include vitamins, antioxidants, peptides, and natural oils. Each ingredient plays a pivotal role in rejuvenating the skin, combating aging signs, and providing protection from environmental damage.
Base oils
Natural base oils are the cornerstone of any homemade serum. These oils act as carriers for other ingredients and provide hydration to the skin. Not all oils are created equal, so it’s crucial to choose ones that match your skin type:
- For Oily Skin: Grapeseed oil, jojoba oil, or hemp seed oil can regulate the skin’s natural oil production.
- For Dry Skin: Richer oils like avocado or sweet almond oil offer intensive moisture.
- For Sensitive Skin: Oils such as chamomile or calendula are known for their soothing properties.
- For Mature Skin: Argan oil, rosehip seed oil, or pomegranate seed oil can provide anti-aging benefits.
Essential oils
Essential oils are potent plant extracts that serve both as fragrance and functional components. They should be used with caution and respect due to their concentrated nature, and always diluted appropriately within a carrier oil:
- Lavender: Renowned for its calming effects, it’s suitable for all skin types and can promote healing.
- Tea Tree: Ideal for acne-prone skin, tea tree oil has antibacterial properties.
- Rose: Perfect for mature or dry skin, rose oil can help with hydration and reducing the appearance of fine lines.
Active ingredients
Active ingredients are substances that are meant to address particular skin concerns directly:
- Vitamin C: A powerful antioxidant that brightens the skin and helps reduce the signs of aging.
- Hyaluronic Acid: Known for its incredible ability to retain moisture, making it a must-have for hydration.
- Niacinamide (Vitamin B3): Helps refine skin texture and can assist in balancing oil production.
Crafting your facial serum

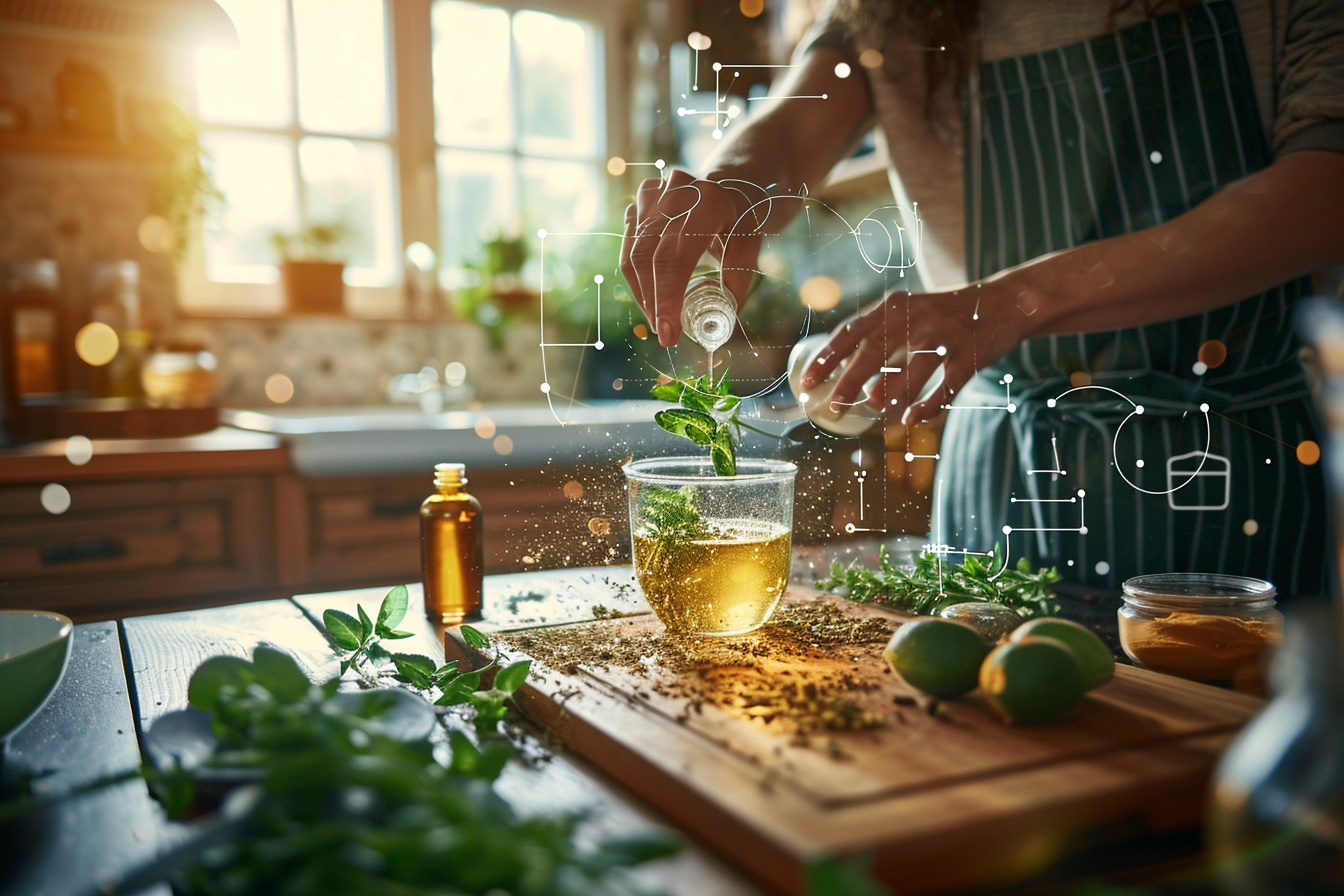
Creating your own facial serum at home is both an art and a science. The process must be approached with precision and patience. To begin crafting your serum, you’ll need to follow a few fundamental steps:
Step 1: sterilize your workspace and utensils
Hygiene is of utmost importance in skincare production. Ensure that all utensils, containers, and surfaces are sterilized before starting to prevent bacterial contamination, which could harm your skin.
Step 2: measure your ingredients
Accuracy is crucial when it comes to measuring your ingredients. Use the appropriate equipment such as graduated cylinders or droppers:
- The base oils typically make up around 90-95% of the total serum.
- Essential oils should not exceed 1-3% of your serum due to their potency.
- Active ingredients’ concentration will vary, but often range from 0.5 to 5% of the total serum, depending on the specific ingredient and its desired effect.
Step 3: mixing
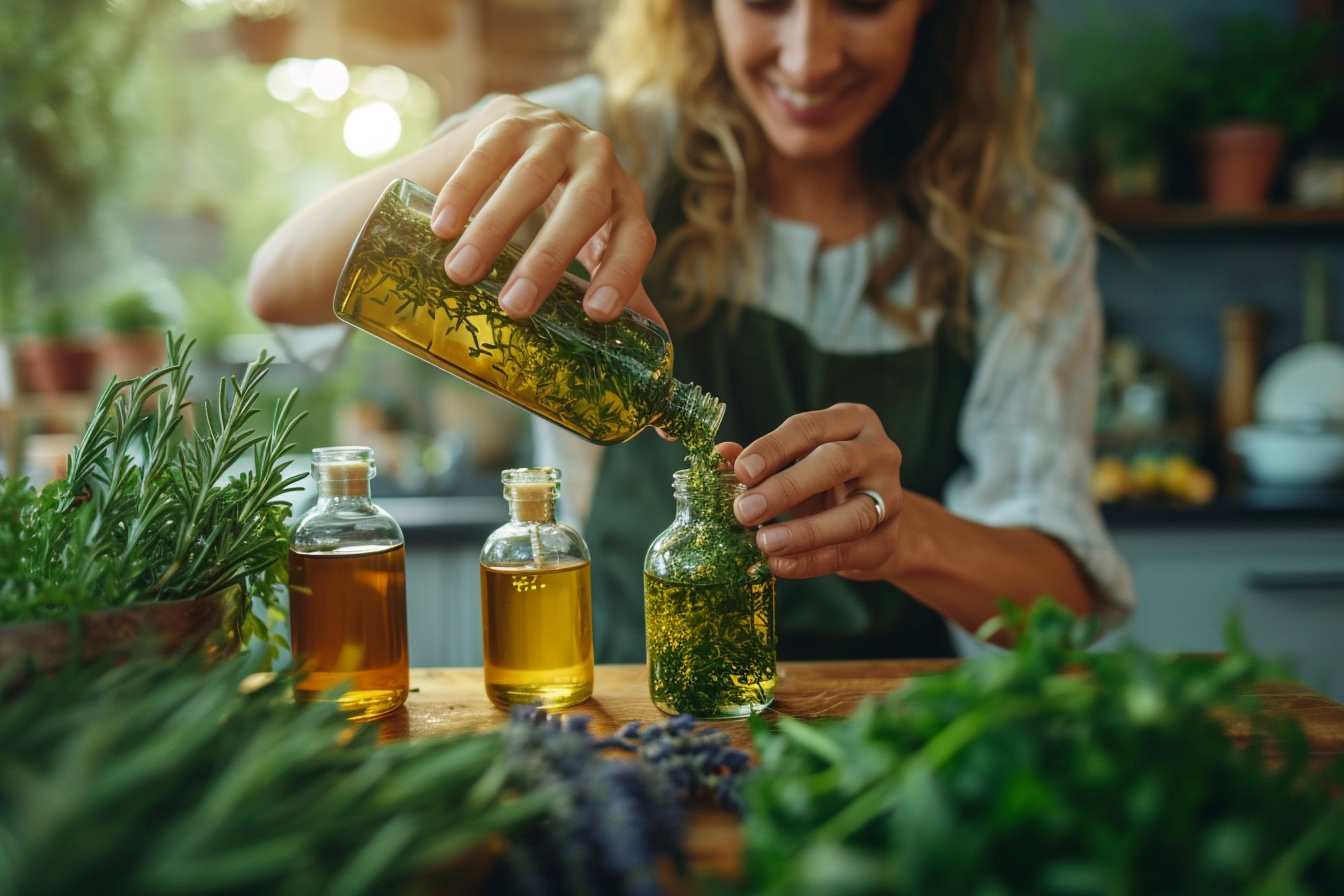
Combine the base oils in a clean glass bottle or beaker. Before adding any active ingredients or essential oils, make sure the base is thoroughly mixed. Once the base blend is ready, incorporate the essential oils with care, and then add the active ingredients. During the mixing phase, it’s important to ensure uniform distribution of all components.
Step 4: bottling
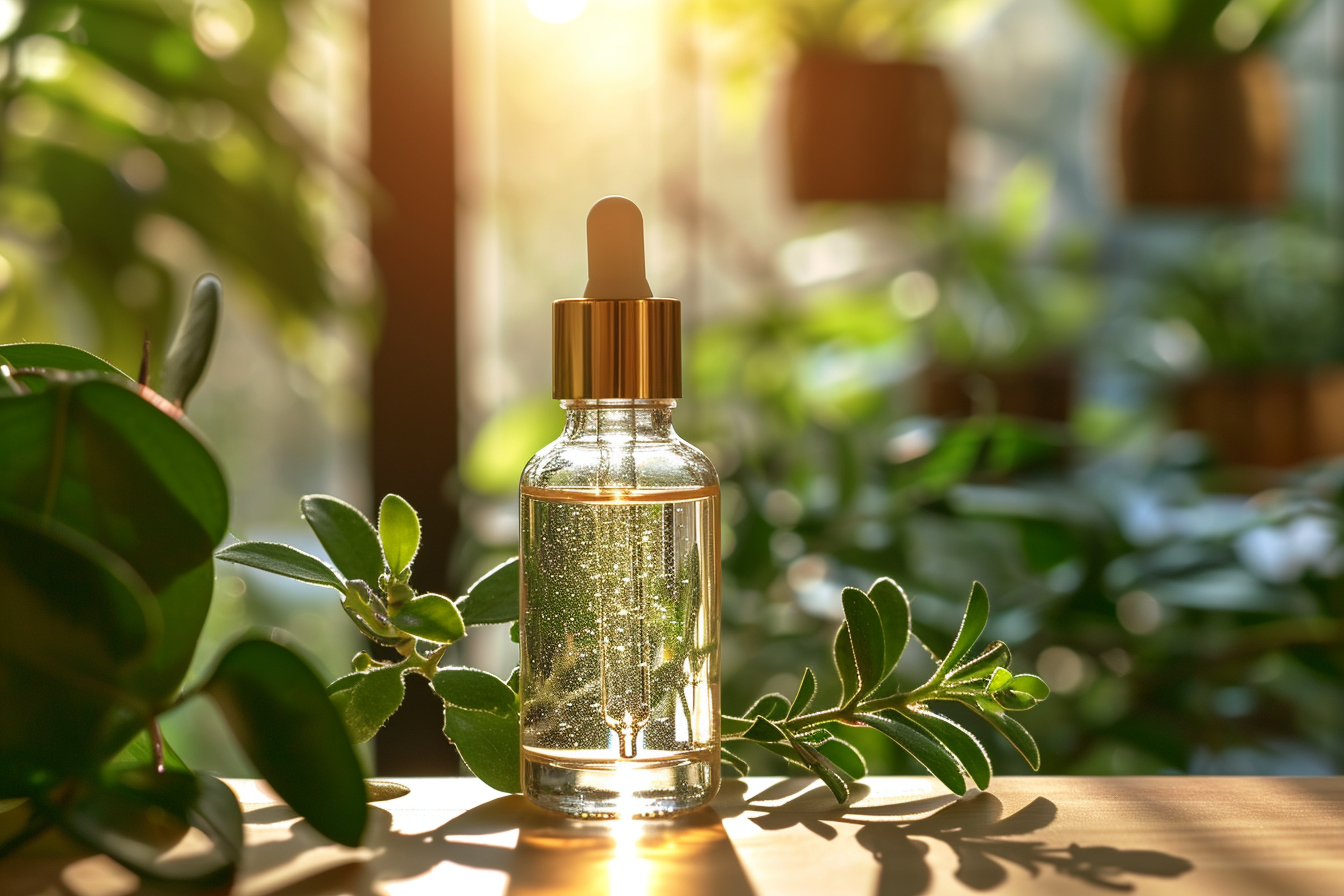
After the serum is mixed, carefully transfer it into a dark glass bottle to protect the contents from light, which can degrade certain ingredients. An amber or cobalt blue bottle with a dropper is typically the best choice for preserving the efficacy of your serum.
Expert tips for serum formulation

When delving into the world of natural skincare, certain expert tips can elevate your serum’s effectiveness:
Patch Testing
Always conduct a patch test with any new serum mixture. Apply a small amount to a discreet area of your skin and wait 24 hours to ensure no adverse reactions occur.
Temperature Control
Some ingredients may be sensitive to temperature changes. Store your serum in a cool, dark place to prolong its potency and prevent the breakdown of delicate molecules.
pH Balancing
The skin’s natural pH is slightly acidic, and maintaining this balance is vital for skin health. When formulating your serum, be mindful of how each ingredient might affect the product’s overall pH.
Antioxidant Synergy
Combine antioxidants that work in concert to enhance the protective benefits of your serum. For instance, vitamin C and vitamin E can work synergistically to boost the serum’s anti-aging properties.
Layering Technique
Recognize that serums are a part of a broader skincare routine. Apply your homemade serum after cleansing and toning but before moisturizing to allow for maximum absorption.
Common mistakes and how to avoid them
As you become more adept at creating facial serums, you’ll want to avoid common pitfalls:
Overloading with Ingredients
Resist the temptation to include too many active ingredients. Sometimes, less is more, and a simpler formula targeted to your needs is more effective than a complex one.
Neglecting to Preserve Properly
If you’re creating a serum with botanical extracts or ingredients that are prone to spoilage, consider natural preservatives such as vitamin E, rosemary extract, or grapefruit seed extract to extend your serum’s shelf life.
Inadequate Storage
Exposure to light, air, and heat can degrade your serum. Use air-tight bottles and store your serum in a cool, dark place, or even in the refrigerator for freshness.
With knowledge, patience, and practice, you can enter the world of natural skincare and take control of the ingredients you feed your skin. Homemade facial serums empowered by expert techniques offer a personalized skincare solution that embraces the purity and potency of nature.

